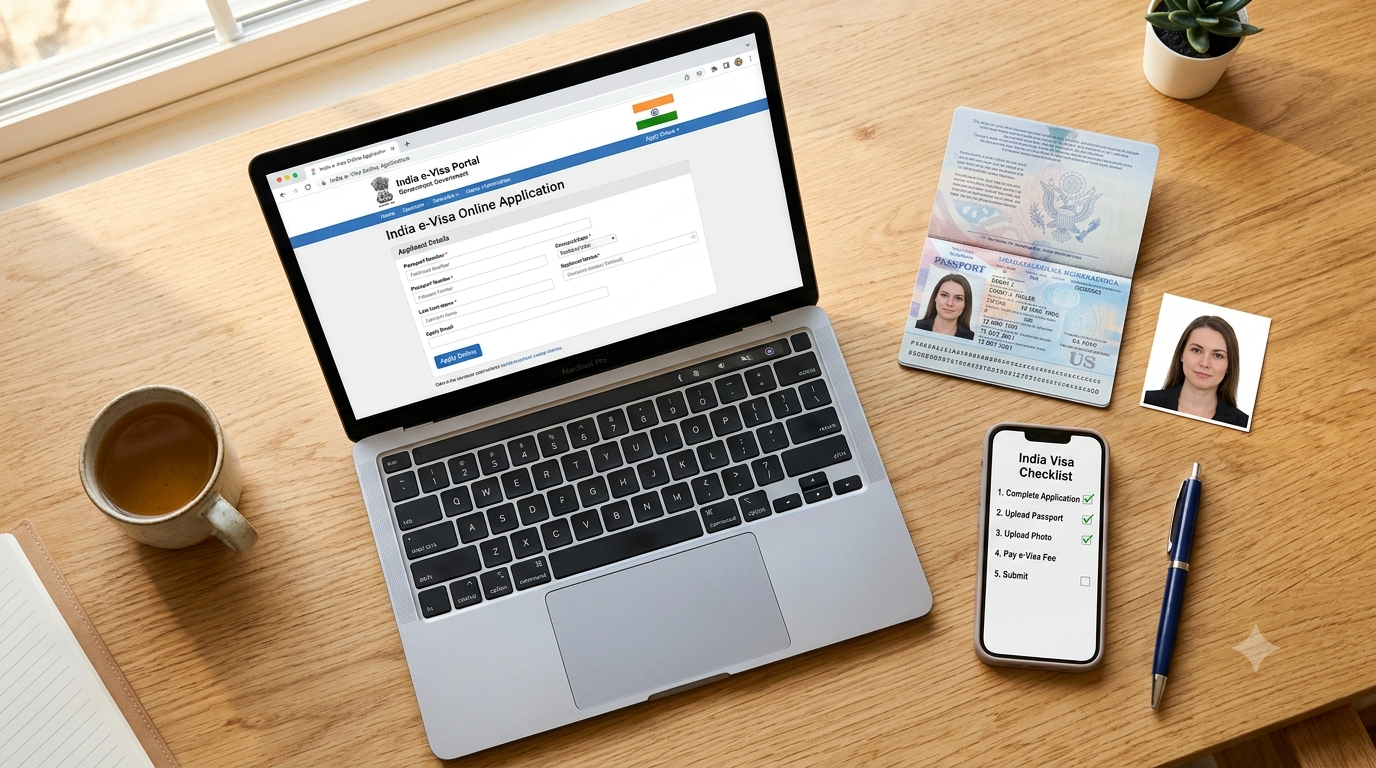
India e-Visa Application: Step-by-Step Guide for Americans
The India e-Visa system was built to simplify what used to be a much slower, paperwork-heavy process. For most US travelers, it means you can apply, upload your documents, and get a decision without ever visiting a consulate. But "online" doesn't always mean "simple" — the form asks for specific details in a specific format, and small mismatches are what usually slow things down.
Here's what the process actually looks like, step by step.
Step 1: Confirm Your Visa Category First
Before you touch the application form, be clear on why you're traveling. India's e-Visa system separates applicants into categories — Tourist, Business, Medical, Student, Ayush, and Attendant visas among them — and each one asks slightly different questions. Applying under the wrong category is one of the fastest ways to create delays, since your stated purpose needs to match your supporting documents later.
Step 2: Gather Your Documents Before You Start
Having everything ready before you open the form makes the process much smoother. You'll typically need:
· A scanned copy of your US passport's biographical page
· A recent digital photograph meeting India's photo specifications (plain background, correct dimensions, no glasses or headwear unless religious)
· Supporting documents specific to your category — an invitation letter for Business, a hospital letter for Medical, an admission letter for Student, and so on
· Basic trip details: intended port of arrival, approximate travel dates, and accommodation information
Step 3: Complete the Online Application Form
The form itself asks for standard information: your personal details as they appear on your passport, passport number and expiry date, contact information, and details about your trip. Consistency matters here — your name, dates, and numbers need to match your passport and supporting documents exactly. A single typo in a passport number is a common reason applications get flagged for review.
Step 4: Upload Your Photo and Documents
This is the step where most avoidable errors happen. India's photo requirements are specific — incorrect sizing, shadows, or non-white backgrounds are frequently rejected. Similarly, uploaded documents (like invitation or hospital letters) need to be legible scans, not phone photos with glare or cut-off text.
Step 5: Pay the Applicable Fee
Fees vary depending on your visa category and the length of validity you're applying for. Make sure you're paying through a legitimate channel and that you understand exactly what the fee covers before submitting payment.
Step 6: Wait for Processing
Processing times shift depending on the season and visa category, so it's worth applying with a comfortable buffer before your planned departure — not the week before you fly. Once approved, you'll typically receive your e-Visa electronically, which you'll need to carry (along with your passport) when you travel.
Step 7: Complete India's Digital Arrival Requirement
Separately from your visa, India now requires foreign travelers to submit an electronic arrival form before landing — a system introduced to replace the old paper arrival card. This is not the same as your visa application, and it's easy to overlook since it happens closer to your travel date. We cover this in detail in our guide to India's new e-arrival form.
Common Mistakes That Slow Things Down
· Applying under the wrong visa category for your actual purpose of travel
· Photos that don't meet size or background specifications
· Passport details that don't match exactly between the form and your documents
· Submitting supporting letters that are outdated, unsigned, or missing required details
· Applying too close to your travel date, leaving no buffer for follow-up requests
Applying on Mobile vs. Desktop
The e-Visa form can technically be completed on a phone, but uploading clear, correctly sized document scans is noticeably easier from a computer. If you only have a phone available, use a proper scanning app rather than a plain photo — flat lighting and a straight angle make a real difference in whether your documents are accepted the first time. Photos taken at an angle, with shadows, or with a visible edge of the table around the document are a common reason for re-uploads.
What "Processing" Actually Looks Like Behind the Scenes
It helps to understand that your application isn't just sitting in a queue waiting its turn — once submitted, it goes through a review of your stated purpose, your documents, and your personal details against what's on file. For most straightforward Tourist applications with clean documentation, this moves relatively quickly. Categories like Medical, Student, or Business, which involve verifying a hospital, institution, or company's details, often take a bit longer simply because there's more to confirm. This isn't a flaw in the system — it's the tradeoff for a process that doesn't require an in-person consulate visit.
Saving and Returning to Your Application
If you can't complete the form in one sitting, most application portals let you save your progress and return later using your reference number or the email you registered with. It's worth keeping this reference number somewhere accessible, along with the email address you used, since you'll need both if you want to check your status or if the portal asks for additional information down the line.
After You're Approved: What to Actually Do With Your e-Visa
Once approved, your e-Visa is typically sent electronically rather than stamped into your physical passport. Print a copy and also save a digital version on your phone — airlines sometimes ask to see it before boarding, and immigration officials will want to see it on arrival alongside your passport. Double-check that the name, passport number, and validity dates on the approval match your passport exactly; catching a printing or data-entry error before you fly is far easier than trying to resolve it at an airport counter.
Common Questions About the Application Process
Can I apply for someone else, like a family member? Each traveler needs their own individual application with their own documents, even if you're submitting them around the same time as a family trip. You can typically complete multiple applications in sequence using the same account or process.
What if I make a mistake after submitting? Depending on how far along your application is in processing, corrections may or may not be possible without starting over. This is exactly why double-checking every field — especially your passport number and dates — before you hit submit matters so much.
Do I need a return flight booked before I apply? Requirements vary by category, but having your travel dates and itinerary details on hand when you apply makes the form faster to complete, even where it's not strictly mandatory.
How will I know if something's missing from my application? If a reviewer needs more information, you'll typically be contacted through the email address you registered with the application — another reason to double-check that email address is entered correctly and monitored regularly while your application is pending.
The India e-Visa process is designed to be manageable, and for most travelers it is — as long as the category, documents, and details line up cleanly the first time. Taking an extra 20 minutes to double-check your form before submitting is almost always faster than fixing a rejected or delayed application later, and a little preparation up front goes a long way toward a smooth approval.